First, click Share above the image you would like to send.
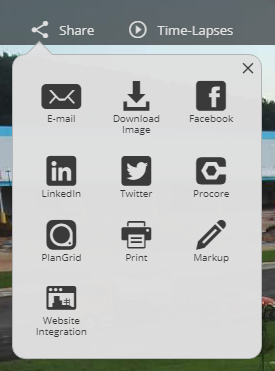
To mark up a job site image, click Markup. A menu with different mark up options will be displayed across the top of the interface.

Draw a Line
Click the 🡥 arrow button to draw a line. A line will appear on the image, which you can rotate, extend and move by dragging the circles at the line's ends. By default, there is an arrow at one end of the line.

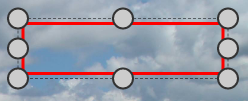
Draw a Rectangle
Click the ▢ square icon to draw a rectangle. One will appear on the image, and you can resize and move it by dragging the circles at the corners.
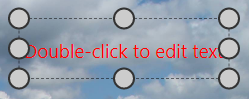
Add Text
Click the A icon to add text to an image. Double click the box to edit the text and click the check mark to accept. Drag the circles at its corners to resize the text box and click the body to drag the text box.
Delete
Delete a markup by clicking the trashcan icon.
Email a Mark Up
Email a marked-up image by clicking the ✉︎ envelope icon.
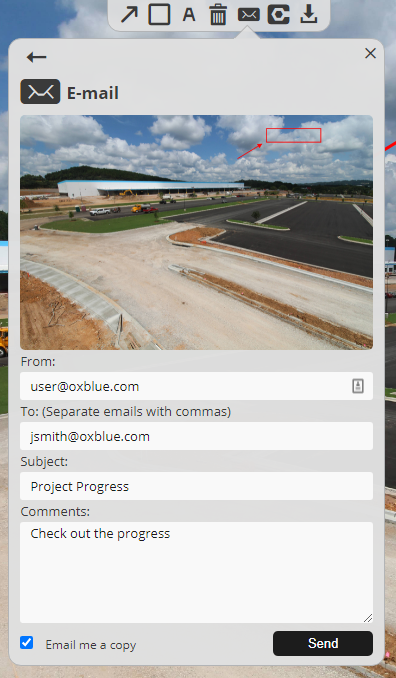
- In From, enter your email.
- In To, enter the email address of the recipient(s). Separate multiple email
addresses by commas. - In Subject, enter the subject of the email. The name of the site is entered for
you, but you can change it. - In Comments, say something about the image.
- If you want to send the email to yourself, check Email me a copy.
- Click Send.
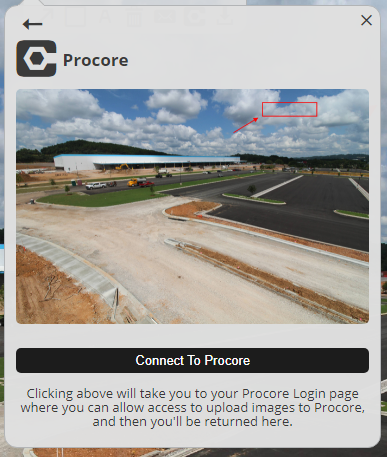
Add a Mark Up to Procore
Note: To add a marked-up image to Procore, you must have Procore integrated with your OxBlue interface. Learn how to here.
To share the marked-up image on Procore, click the Procore icon and follow the instructions in the dialog box.
Download a Mark Up
Click the ⭳ download icon to save your marked-up image on your computer.